A failing battery is one of the most common causes of summer breakdowns. Heat accelerates battery degradation, and old batteries struggle to start engines in hot conditions. Checking your battery before summer holidays prevents inconvenient breakdowns and expensive towing costs. This guide covers everything you need to know about battery maintenance.
Key takeaways: Check battery terminals are clean and corrosion-free, ensure connections are tight and secure, look for cracks or damage to casing, test voltage with multimeter (healthy = 12.6V+), replace if voltage below 12.4V, batteries last 4-6 years so replace if older than 5 years, have mechanic perform load test, check charging system operation, electric vehicles need battery health check through diagnostic system.
Visual Inspection of Battery
Check Terminal Condition
Check battery terminals are clean and free from corrosion. Corroded terminals prevent proper electrical flow, causing starting problems and battery drain.
What corrosion looks like:
- White, blue, or green powdery substance on terminals
- Rusty or discoloured metal connections
- Thick build-up around terminal posts
- Loose or wobbly terminal clamps
How to clean corrosion:
- Disconnect battery – Remove negative cable first, then positive
- Use wire brush – Scrub terminals and cable ends thoroughly
- Apply baking soda solution – Mix 1 tablespoon baking soda with 1 cup water, apply to corrosion
- Rinse with clean water – Wash away baking soda and corrosion residue
- Dry completely – Use clean cloth to dry terminals
- Apply protective coating – Use battery terminal protector or thin layer of oil
- Reconnect battery – Positive cable first, then negative, ensure tight
Prevent future corrosion:
- Apply battery terminal protector spray regularly
- Check terminals every 3 months
- Keep battery area clean and dry
- Use corrosion-resistant terminals if replacing
Ensure Connections Are Tight and Secure
Ensure connections are tight and secure. Loose connections cause voltage drops, starting problems, and accelerated battery drain.
How to check connection tightness:
- Wiggle test – Gently try to move terminal clamps. They should not move
- Twist test – Try to twist cables. They should not rotate on terminals
- Visual check – Clamps should sit flush against terminals with no gaps
- Tool test – Use wrench to check tightness. Should not turn easily
How to tighten connections:
- Use correct wrench size – Typically 10mm or 13mm for car batteries
- Tighten firmly – Apply enough force to eliminate movement but don’t overtighten
- Check both terminals – Positive and negative must be tight
- Recheck after tightening – Verify no movement remains
Loose connection symptoms:
- Difficulty starting engine
- Dim headlights
- Electrical accessories working poorly
- Battery drain when car not running
- Intermittent electrical problems
Look for Cracks or Damage to Casing
Look for cracks or damage to the battery casing. Physical damage indicates the battery is failing and may leak dangerous chemicals.
What damage looks like:
- Visible cracks in plastic casing
- Bulging or swollen sides
- Leaking fluid around base
- Bent or warped casing
- Broken terminal posts
- Cracked or missing vent caps
Why damage is dangerous:
- Leaking acid – Corrodes surrounding components, damages car
- Electrical short – Exposed terminals can cause fires
- Gas escape – Explosive hydrogen gas escapes unsafely
- Complete failure – Damaged batteries fail suddenly
- Health risk – Battery acid causes burns and injury
If you find damage:
- Do not use the battery – Replace immediately
- Disconnect carefully – Avoid touching acid or terminals
- Replace with new battery – Don’t attempt repairs
- Dispose properly – Take old battery to authorised disposal centre
- Check surrounding area – Clean any acid spills
Test Battery Voltage
How to Test Voltage
Test the voltage using a battery tester or multimeter. This is the most accurate way to determine battery health.
Testing procedure:
- Ensure engine is off – Battery must be at rest for accurate reading
- Wait 2-3 hours after driving – Recent driving charges battery, giving false high reading
- Set multimeter to 20V DC – Select appropriate voltage range
- Connect positive lead – Touch red lead to positive (+) terminal
- Connect negative lead – Touch black lead to negative (-) terminal
- Read the display – Note the voltage shown
- Record the reading – Compare to healthy battery standards
What voltage readings mean:
| Voltage | Condition | Action |
|---|---|---|
| 12.6V+ | Healthy battery | No action needed |
| 12.4-12.6V | Good, slightly charged | Monitor, test again soon |
| 12.2-12.4V | Moderately discharged | Charge battery, test again |
| 12.0-12.2V | Poor, weak battery | Charge immediately, consider replacement |
| Below 12.0V | Dead or failing battery | Replace immediately |
If voltage is below 12.4V, the battery may need replacement. This indicates the battery cannot hold sufficient charge for reliable starting.
Using a Battery Tester
Battery testers are more convenient than multimeters and provide instant health assessment.
Types of battery testers:
- Digital testers – Show voltage and health percentage
- Analog testers – Use needle gauge for voltage reading
- Load testers – Apply load to test under real conditions
- Smart testers – Connect to phone, provide detailed analysis
How to use a battery tester:
- Connect leads – Attach to positive and negative terminals
- Press test button – Activate testing mode
- Read results – Note voltage and health indication
- Follow recommendations – Replace if tester indicates failure
Battery tester advantages:
- Faster than multimeter
- Built-in health assessment
- No interpretation needed
- Often include load testing
- More accurate for battery health
Check Battery Age
How to Find Battery Age
Check the age because batteries typically last 4-6 years. If your battery is older than 5 years, consider replacement before long journeys.
How to find manufacturing date:
- Look for date code on casing – Usually a sticker or embossed code
- Find month and year – Format varies by manufacturer
- Common formats:
- “08/21” = August 2021
- “2108” = August 2021
- “AUG-21” = August 2021
- Calculate age – Subtract manufacture date from current date
Where date codes appear:
- Top of battery casing
- Side near terminals
- On label or sticker
- Embossed in plastic
Battery Lifespan Expectations
Typical battery lifespans:
| Battery Type | Expected Life |
|---|---|
| Standard lead-acid | 4-5 years |
| Enhanced flooded | 5-6 years |
| AGM (Absorbent Glass Mat) | 6-8 years |
| Lithium | 8-10 years |
Factors reducing battery life:
- Extreme heat – Summer temperatures accelerate degradation
- Extreme cold – Winter freezing damages internal structure
- Frequent short trips – Battery doesn’t fully charge
- Electrical负荷 – Many accessories drain battery
- Poor maintenance – Corrosion, loose connections
- Overcharging – Faulty charging system damages battery
- Undercharging – Battery never reaches full capacity
If battery is older than 5 years, replacement is recommended even if it appears to work. Old batteries fail suddenly, often when you need them most.
Professional Battery Testing
Load Test
Have a mechanic perform a load test. This simulates real starting conditions and reveals weaknesses not visible in voltage tests.
How load testing works:
- Connect load tester – Applies electrical load to battery
- Apply load for 10-15 seconds – Simulates engine starting
- Monitor voltage under load – Healthy battery maintains voltage
- Compare to specifications – Failure indicates weak battery
- Get results – Mechanic provides passing or failing grade
What load testing reveals:
- Weak cells inside battery
- Reduced capacity under stress
- Inability to deliver starting power
- Internal damage not visible externally
- Age-related degradation
Load test cost: £20-£50 at most garages, often free if purchasing new battery.
Charging System Check
Check for proper charging system operation. A failing alternator or voltage regulator can damage even healthy batteries.
What to check:
- Alternator output – Should be 13.5-14.5V when engine running
- Voltage regulator – Prevents overcharging
- ** Wiring connections** – Check for corrosion or damage
- Drive belt – Ensure alternator belt is tight and not worn
Checking charging system:
- Start engine – Let it run for 2-3 minutes
- Measure voltage at terminals – Should be 13.5-14.5V
- If below 13.5V – Alternator not charging properly
- If above 14.5V – Overcharging, damaging battery
- Have mechanic diagnose – Complex electrical issues need professional help
Charging system problems cause:
- Battery drain despite being healthy
- Overcharging damaging battery
- Intermittent starting problems
- Electrical accessory failures
- Premature battery failure
Electric Vehicle Battery Checks
Check Battery Health Through Diagnostic System
For electric vehicles, check battery health through the vehicle’s diagnostic system. EV batteries are different from traditional batteries and require specialised monitoring.
How to check EV battery health:
- Use vehicle dashboard – Most EVs show battery health percentage
- Check smartphone app – Many EVs have remote monitoring apps
- Visit servicing centre – Professional diagnostic tools provide detailed analysis
- Review battery report – Service centres generate health reports
What EV battery health indicates:
- Capacity percentage – How much charge battery holds vs original
- State of health – Overall battery condition
- Charging speed – How quickly battery accepts charge
- Battery temperature – Operating temperature range
- Cell balance – Individual cell performance
EV battery lifespan:
- Typical life: 8-15 years or 100,000-200,000 miles
- Capacity retention: 70-90% after 8 years
- Warranty: Most cover 8 years or 100,000 miles
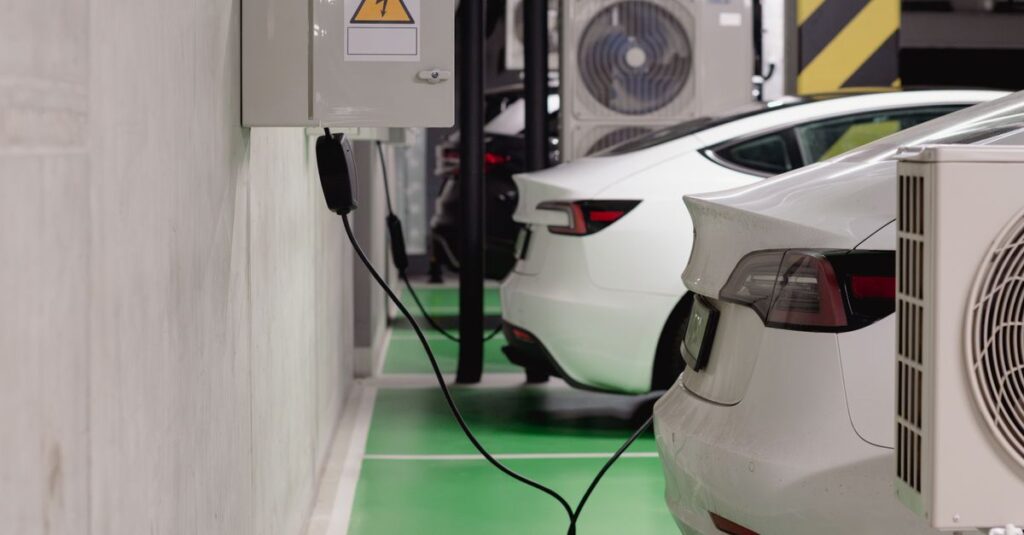
Ensure Charging Cables Are Working
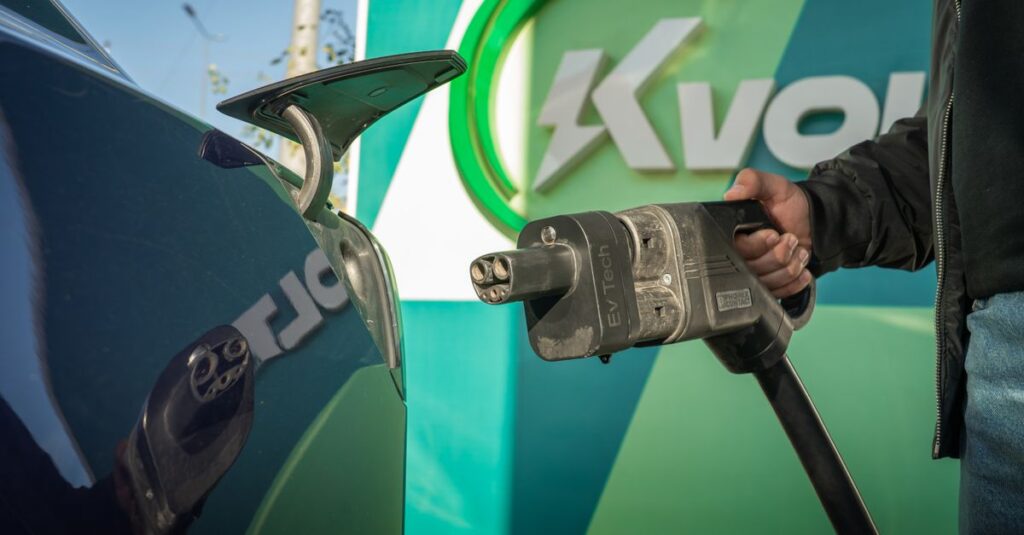
Ensure charging cables are working properly. Damaged cables prevent charging, leaving you stranded.
Check charging cables for:
- Cracks or damage – Visible physical damage
- Bent connectors – Misaligned charging pins
- Frayed wiring – Exposed wires inside cable
- Loose connections – Connectors not fitting securely
- Warning lights – Error indicators on charger
- Charging speed – Slow charging indicates problems
How to test charging cables:
- Inspect visually – Look for damage along entire cable
- Test connection – Plug into vehicle, ensure secure fit
- Check charging – Verify battery charges normally
- Monitor speed – Compare to expected charging rate
- Listen for sounds – Clicking or buzzing indicates problems
If charging cables fail:
- Stop using immediately – Safety risk
- Contact manufacturer – Warranty may cover replacement
- Purchase replacement – Use compatible cables
- Have inspected – Professional assessment before using new cables
Battery Maintenance Tips
Regular Checks
Check battery every 3 months:
- Terminal condition and cleanliness
- Connection tightness
- Casing for damage
- Voltage reading
- Age calculation
Preventive Maintenance
- Clean terminals regularly – Prevent corrosion build-up
- Apply protector spray – Prevents future corrosion
- Tighten connections – Ensure secure electrical flow
- Keep area clean – Remove dirt and debris
- Check charging system – Ensure proper battery charging
- Replace old batteries – Don’t wait for failure
Winter Preparation
- Check battery before winter – Cold weather stresses batteries
- Keep battery fully charged – Cold reduces capacity
- Park in garage – Protects from extreme temperatures
- Use battery warmer – Helps in very cold climates
Summer Preparation
- Check battery before summer – Heat accelerates degradation
- Clean terminals – Heat increases corrosion
- Check cooling – Ensure battery area ventilated
- Replace old batteries – Heat kills old batteries quickly
In my experience, battery failures are almost always predictable with proper checks. The single most important factor is checking voltage regularly – batteries below 12.4V almost always fail within months.
From my point of view, the most critical habit is replacing batteries older than 5 years even if they appear to work. Old batteries fail suddenly, often during your most important journey.
I would recommend checking your battery monthly, testing voltage quarterly, and replacing batteries at 5 years regardless of apparent condition. This simple routine prevents breakdowns and saves money on towing.
For UK drivers, summer heat accelerates battery degradation significantly. Temperatures reaching 35°C+ cause old batteries to fail rapidly. Regular checks and timely replacement are essential for reliable summer travel. For official vehicle maintenance guidance, visit gov.uk. For battery safety information, check Electrical Safety First. For automotive electrical advice, visit Autotrader.